Tools
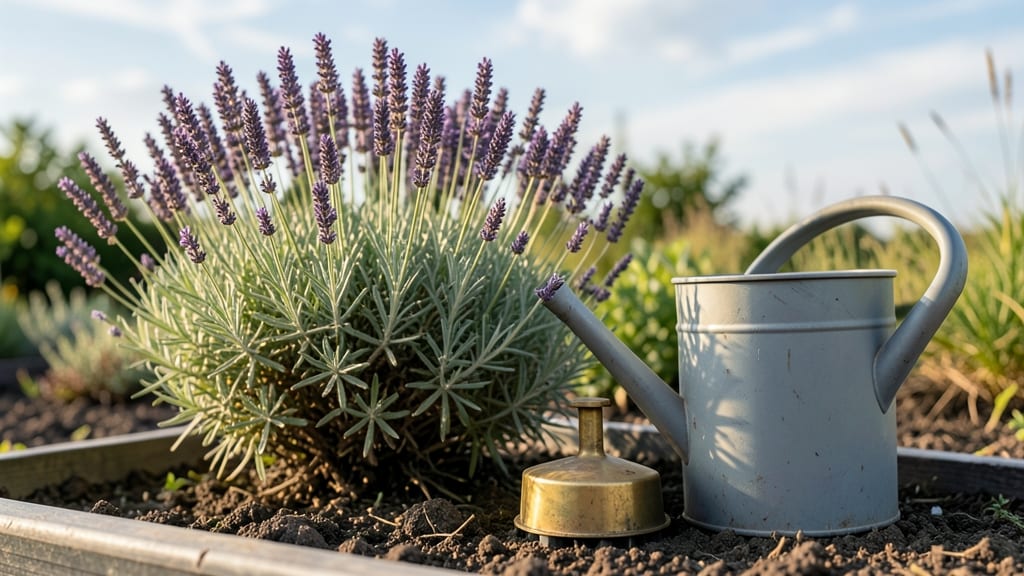
Transforming your flower beds into a lush, thriving paradise starts with the right sprinklers for flower beds—because every petal deserves water that mimics nature’s gentle rhythm. 🌸 My first attempt with a generic lawn sprinkler left my delicate roses wilting and my annuals struggling, but once I switched to a precision system, the difference was shocking.
The key isn’t just watering—it’s delivering moisture where flowers need it most, without waste or stress.
You don’t need a complicated setup to get this right. A soaker hose tucked along borders keeps water at the roots without disturbing blooms, while oscillating sprinklers with adjustable arcs handle larger beds effortlessly.
For high-value flowers like peonies or hydrangeas, a drip irrigation system delivers pinpoint moisture, cutting water use by up to 50% while preventing fungal issues. The best part? These systems blend seamlessly into garden design—no more ugly hoses or clunky setups ruining your aesthetic.
What you’ll end up with is a garden where every flower thrives—not just survives. Petals stay vibrant, roots stay healthy, and you’ll spend less time hand-watering and more time admiring the results.
The right sprinkler setup turns your flower beds into a self-sustaining oasis, where even the most finicky blooms get exactly what they need. Let’s dive into how to choose and install the perfect system for your space.
Whether you’re working with a small border or a sprawling perennial garden, the principles stay the same: match your sprinkler type to your flowers, place it strategically, and adjust for efficiency.
We’ll cover the tools, the placement tricks, and how to avoid common pitfalls—so you can enjoy a garden that’s as beautiful as it is low-maintenance. Ready to make your flowers sing?
📚 In This Guide
- What you need
- Instructions
- Tips and common mistakes
- Wrapping up and next steps
What you need
- ● Sprinkler heads: 4–10 units (depending on flower bed size; choose rotary, impact, or oscillating types for even coverage).
- ● Polyethylene tubing: ½-inch diameter, 50–200 ft (flexible and UV-resistant).
- ● Sprinkler valves: 1–2 automatic or manual valves (¼-turn or gear-driven, 1–2 GPM flow rate).
- ● Backflow preventer: 1 unit (mandatory for safety; reduced-pressure zone (RPZ) type).
- ● Timer/controller: 1 programmable unit (12V or 24V, weather-resistant).
- ● Shovel & stakes: For digging trenches (1–2 ft deep) and marking sprinkler head locations.
- ○ Trenching tool or augur: For precise, clean trenches (optional but highly recommended for durability).
- ● Teflon tape: 1 roll (to seal pipe threads and prevent leaks).
- ● PVC connectors: ½-inch male/female adapters (quantity depends on layout complexity).
- ● Drip irrigation kits: For delicate flowers (e.g., orchids, succulents; ¼-inch tubing + emitters).
- ● Rain sensors: 1 unit (auto-shuts off system during rain; battery-powered).
- ● Solar-powered timer: For off-grid setups (great for remote gardens).
- ● Mulch or landscape fabric: To reduce evaporation and protect tubing.
- ● Pressure gauge: 1 unit (to monitor 30–50 PSI for optimal spray).
How to install sprinklers for flower beds like a pro
Here’s the straightforward method I use to set up a system that delivers water exactly where your flowers need it—no waste, no guesswork.
💧 Step 1: Plan Your Sprinkler Layout for Even Coverage
Start by sketching your flower bed layout on paper, marking where each sprinkler will go. Place sprinklers so their spray patterns overlap slightly—this ensures no dry spots. For most flower beds, I space them 10-15 feet apart, adjusting for dense plantings or slopes. A good rule is to cover 10-12 feet in diameter per sprinkler for uniform watering.
Walk through your garden at different times of day to observe where water naturally pools or drains. Adjust your sprinkler placement to avoid overwatering low spots or missing raised areas. I always test-fit sprinklers by laying them out without connecting them—this helps visualize coverage before digging.
🪴 Step 2: Connect Sprinkler Heads to the Main Line
Begin by attaching the sprinkler heads to the poly tubing using the included connectors. I use ½-inch poly tubing for most flower beds—it’s flexible, durable, and easy to work with. Cut the tubing to length with tubing cutters (never scissors—they crush the edges) and slide on the connectors before attaching the sprinkler heads.
For a 4-sprinkler system, I connect them in a loop back to the main water source. This creates a closed loop that prevents pressure loss. If your flower bed has slopes, install pressure-regulating sprinkler heads to ensure even watering across elevation changes. Tighten all connections with a wrench, but don’t overtighten—just snug enough to prevent leaks.
☀️ Step 3: Set Watering Zones and Timers
Divide your flower bed into watering zones based on sun exposure and plant types. Shady areas with moisture-loving plants (like impatiens) need 1-2 hours of watering daily, while sunny beds with drought-tolerant flowers (like lavender) only need 30-45 minutes every other day. Adjust your timer settings accordingly—most timers let you program 2-4 cycles per day for flexibility.
I recommend running a test cycle before finalizing your schedule. Place a clear container (like a tuna can) in each zone and measure how much water collects in 15 minutes. Aim for ½ to ¾ inch of water per cycle—this is enough to penetrate the root zone without runoff. If water pools in one spot, adjust the sprinkler angle or move it slightly.
⏰ Step 4: Adjust Sprinkler Heads for Precision
Twist each sprinkler head to direct the spray pattern toward the center of the flower bed, not the edges. For rotary sprinklers, set the radius to match your spacing—usually 10-12 feet. For impact sprinklers, adjust the nozzle to create a full-circle pattern without overspray onto sidewalks or lawns. I always step back and visually confirm that the spray covers the entire bed without gaps.
If you notice uneven watering (like dry patches near the sprinkler), raise the sprinkler head slightly—this widens the spray pattern. For slope adjustments, tilt the sprinkler upward on the lower side and downward on the higher side to compensate. A quick trick: Sprinkle flour or chalk around the sprinkler to see where water lands before turning it on.
🌿 Step 5: Maintain for Long-Term Performance
Check sprinkler heads weekly for clogs or misalignment—especially after windstorms. I carry a small brush and vinegar solution to clean nozzles if water pressure drops. In winter, drain the system or use winterizing sprinkler heads to prevent freezing. For perennial beds, I winterize by blowing out water lines with compressed air to remove residue.
Every spring, inspect tubing for cracks and replace any damaged sections. I also recalibrate the timer after winter to account for seasonal water needs. Pro tip: Label your sprinkler zones with waterproof tape—next year’s you won’t remember which zone is which until you see the labels!
Tips & tricks for perfect sprinkler installation for flower beds
Here's how to avoid common pitfalls and get flawless coverage every time—these tricks have saved my flower beds from dry patches and overwatering disasters.
Visual Planning Pays Off: Before digging, use a hula hoop or garden hose to trace the 10-12 foot diameter coverage area for each sprinkler head. This helps you visualize overlaps and adjust spacing before making any permanent connections. I've found that sketching on graph paper (where each square represents 1 foot) reveals coverage gaps I'd miss otherwise.
Pressure Regulation is Key: For slopes or hilly gardens, pressure-regulating sprinkler heads are worth the investment. I've seen water pressure drop dramatically on the lower side of slopes, creating dry spots. These specialized heads maintain consistent watering across elevation changes. If you can't find them, adjust the nozzle size on standard heads to compensate for pressure differences between high and low points.
Test Before Finalizing: After connecting your sprinkler system, run a dry test—without water—by attaching a garden hose and turning it on briefly. This lets you see exactly where water will land before committing to your timer schedule. I've caught misaligned sprinklers this way that would have created dry patches in my prized rose beds.
Seasonal Adjustments Matter: The 1-2 hours of watering for shady areas in summer won't work in winter. I adjust my timer settings seasonally: spring/fall require 30-45 minutes every other day, while summer heat demands the full 1-2 hours. Pro tip: Set your timer to run early morning to reduce evaporation and fungal growth on leaves.
Pro Tips for Sprinklers For Flower Beds
- Here's how to avoid common pitfalls and get flawless coverage every time—these tricks have saved my flower beds from dry patches and overwatering disasters.
- Visual Planning Pays Off: Before digging, use a hula hoop or garden hose to trace the 10-12 foot diameter coverage area for each sprinkler head.
- Pressure Regulation is Key: For slopes or hilly gardens, pressure-regulating sprinkler heads are worth the investment.
Frequently asked questions
Got questions about keeping your flower beds lush and hydrated? Here are some of the most common ones—and their answers!
What’s the best type of sprinkler for flower beds?
For flower beds, impact sprinklers or rotary sprinklers work best—they deliver water in arcs, mimicking natural rainfall. Drip irrigation systems are also great for precision watering, especially for delicate blooms. Avoid oscillating sprinklers; they can create uneven water distribution.
When is the best time to water flower beds with a sprinkler?
Early morning (before 10 AM) is ideal—it reduces evaporation and fungal risks. Avoid watering in the evening, as damp foliage can attract pests. If you must water in the heat, do it in short bursts to prevent shock to roots.
How often should I run my sprinkler on flower beds?
Most flower beds need 1–1.5 inches of water per week, including rainfall. Adjust based on weather: water deeply 2–3 times per week in dry spells, and less often if it rains. Overwatering can drown roots, so always check soil moisture first!
Why is my sprinkler not covering the entire flower bed evenly?
Uneven coverage often happens due to clogged nozzles or incorrect pressure. Clean the sprinkler head, check for kinks in hoses, and adjust the water pressure (aim for 30–50 PSI). For large beds, use multiple sprinklers or a pulse jet system for full coverage.
Are there alternatives to sprinklers for flower beds?
Yes! Consider soaker hoses (great for ground-level plants), drip irrigation (precise and water-efficient), or manual watering with a hose nozzle. For raised beds, self-watering systems or wicking beds can also simplify care.
Wrapping up and next steps
Transforming your flower beds into vibrant, thriving havens is easier than ever with the right sprinklers!
Whether you opt for oscillating, rotating, or drip systems, precision watering ensures your blooms stay healthy and radiant. 🌸 The key is choosing a system that fits your garden’s needs—now go ahead and elevate your gardening game!
Ready to get started? Pick your sprinkler, follow the setup tips, and watch your flower beds flourish! 🌱