Flowers
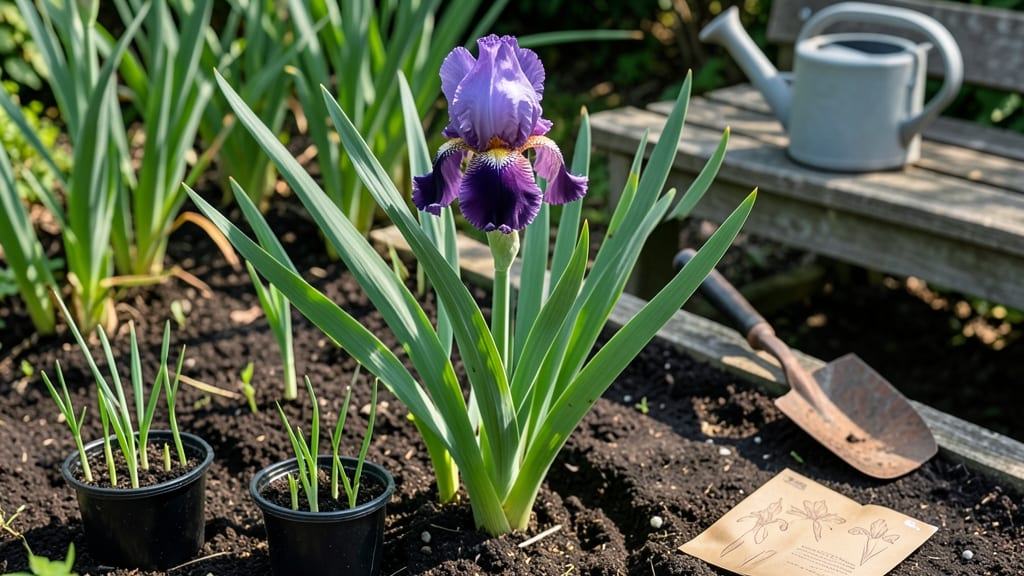
Growing iris flowers from seeds isn’t the usual path—most gardeners reach for rhizomes—but those tiny seeds hold the potential for vibrant blooms that’ll make your garden stand out. 🌿 I’ve experimented with them for years, and while they’re finicky, the payoff of seeing your own homegrown irises emerge is worth the patience.
The key lies in understanding their unique germination needs, which differ wildly from the easygoing approach of other flowers.
You’ll need a few simple supplies: fresh iris seeds (not dried out), a shallow tray with drainage holes, and a mix of sandy loam soil that drains well but holds moisture. The trick is keeping seeds moist but never soggy—think damp paper towels, not a swamp.
Germination can take 6-12 months, so be ready for a long wait before those first green shoots appear. Patience is your biggest ally here.
Once sprouts emerge, you’ll watch them grow into delicate, grass-like seedlings that’ll eventually develop into sturdy plants with the signature sword-shaped leaves. With proper care—bright, indirect light and gentle watering—they’ll reward you with blooms in 3-5 years, though some varieties may take even longer.
The journey is slow, but the blooms? Unmistakably yours.
This method works best for species irises rather than hybrids, which rarely produce true-to-type seeds. Still, if you’re up for the challenge, these seeds offer a way to grow irises that might not be available as rhizomes. Let’s get those trays ready—your future garden’s colors are waiting.
📚 In This Guide
- What you need
- Instructions
- Tips and common mistakes
- Wrapping up and next steps
What you need
- ● Iris flower seeds: Choose high-quality, fresh seeds (preferably from a trusted supplier). Aim for 50–100 seeds if you want a full patch of blooms!
- ● Seed-starting mix: A lightweight, well-draining potting soil (avoid garden soil—it’s too dense!). Use about 2–3 gallons for a standard seed tray.
- ● Seed trays or small pots: Biodegradable or plastic trays (4–6 inches deep) with drainage holes. 1 tray or 6–12 small pots should suffice.
- ○ Grow lights or sunny windowsill: Irises need 12–16 hours of light daily. A full-spectrum LED grow light (optional but ideal) works best.
- ● Misting bottle or spray nozzle: For gentle watering—avoid drowning the seeds!
- ● Plastic wrap or humidity dome: Keeps moisture locked in during germination (critical for tiny seeds!).
- ○ Heat mat (optional): Irises germinate faster in warm soil (70–75°F). A seedling heat mat speeds up the process.
- ● Fine-tip tweezers: For carefully placing seeds without burying them too deep.
- ● pH test kit: Irises prefer slightly acidic to neutral soil (pH 6.0–7.0). Adjust with lime or sulfur if needed.
- ● Fertilizer (low-nitrogen): A balanced 10-10-10 or 5-10-10 fertilizer (diluted to half-strength) after sprouting.
- ● Labels & markers: Track seed varieties and planting dates—irises can take 2–3 years to bloom!
Step-by-Step instructions for germinating iris flower seeds
Iris seeds need patience and precision—here's how to coax those vibrant blooms from stubborn little seeds.
🌱 Step 1: Stratify Seeds for Better Germination
Iris seeds require a cold stratification period to break dormancy. Place them in a sealed container with a moist paper towel, then refrigerate for 8-12 weeks at 35-40°F. Check weekly—if the towel dries, mist it lightly. This mimics winter conditions and signals the seed it's time to grow.
Real talk: Skipping stratification means waiting months (or years) for germination. I've tried planting fresh iris seeds without it, and they either rot or take over a year to sprout. The cold treatment is non-negotiable for consistent results.
💧 Step 2: Prepare Containers and Planting Medium
Use a well-draining mix of 50% peat moss and 50% perlite in 2-3 inch deep containers. Fill them ¾ full, leaving room for seeds. Moisten the mix until it's damp but not soggy—you should see moisture beads form when squeezed gently. Iris roots need air, so compacted soil will strangle them.
I like to use small plastic cell packs because they keep moisture consistent and prevent overcrowding. Label each container with the variety and date—iris seedlings take 2-3 years to bloom, so tracking becomes essential.
☀️ Step 3: Sow Seeds and Maintain Ideal Conditions
Sow seeds ¼ inch deep—any deeper and they'll struggle to reach light. Space them 1 inch apart in rows. Cover lightly with additional mix, then mist the surface until evenly damp. Place containers in a bright, indirect light spot (no direct sun yet) at 65-70°F.
Germination can take 4-12 weeks, depending on variety. You'll see the first tiny green shoots emerge—don't move the containers once sprouts appear. Iris seedlings are delicate, and even slight disturbances can kill them. Watch for yellowing leaves, which means either too much water or poor drainage.
✂️ Step 4: Thin and Transplant Seedlings
When seedlings reach 2 inches tall, thin to the strongest 1 plant per cell. Use scissors to snip weak stems at soil level—pulling risks damaging roots. After thinning, move containers to a south-facing window or under grow lights for 14-16 hours daily. Leggy seedlings mean insufficient light.
Transplant outdoors after last frost when soil reaches 55°F. Choose a site with full sun and well-draining soil. Iris rhizomes hate soggy roots, so amend heavy soil with sand or grit. Water deeply after planting, then let the soil dry between waterings—overwatering is the #1 killer of young irises.
⏰ Step 5: Overwinter and Prepare for Blooms
First-year seedlings need minimal care—just consistent moisture and protection from harsh winds. Mulch lightly in winter with 2 inches of straw to insulate roots. True blooms won't appear until year 3, but you'll see leaf growth each spring. This is where patience pays off.
Here's the thing—iris seeds are finicky, but the payoff is worth it. Once established, they'll multiply and naturalize, creating stunning drifts of color. Just remember: no rushing. The stratification and slow growth are what build strong, vibrant plants capable of years of blooms.
Tips & tricks for perfect iris flower seed germination
Patience and precision are your best tools when growing iris flowers from seeds—here's how to maximize your success.
Stratification Precision: The 8-12 week cold treatment at 35-40°F is non-negotiable, but timing matters. Start your stratification period in early fall (around October) so seeds complete their chilling by late winter. This aligns with natural iris growth cycles. I've found that using a small plastic container with ventilation holes keeps moisture consistent without creating mold.
Container Selection Tip: For Step 2, avoid glass containers—they trap too much moisture and can lead to fungal issues. Opt for plastic cell packs or small pots with drainage holes. The 2-3 inch depth recommendation is perfect for iris roots, which don't need much space but require excellent drainage. I've had best results with 6-packs that give each seedling its own growing room.
Light Management Secret: When moving seedlings to 14-16 hours of light in Step 4, don't rush this transition. Gradually increase light exposure over 3-4 days to prevent shock. I use a simple LED grow light on a timer for consistent results. Watch for seedlings leaning toward light—this is your cue to adjust their position or increase light intensity.
Transplanting Timing: The soil temperature of 55°F for outdoor transplanting is crucial. Use a soil thermometer to verify—cooler soil can stunt root growth. I've learned the hard way that transplanting too early leads to weak seedlings that struggle in spring. Mark your calendar for after the last frost date in your zone, then add 2-3 weeks for safe transplanting.
Pro Tips for Iris Flower Seeds
- Patience and precision are your best tools when growing iris flowers from seeds—here's how to maximize your success.
- Stratification Precision: The 8-12 week cold treatment at 35-40°F is non-negotiable, but timing matters.
- Container Selection Tip: For Step 2, avoid glass containers—they trap too much moisture and can lead to fungal issues.
Frequently asked questions
Got questions about growing irises from seeds?
You’re not alone! Here are answers to the most common queries to help you cultivate those stunning blooms with confidence.
How long does it take for iris flower seeds to germinate?
Patience is key! Iris seeds typically germinate in 30–90 days, depending on conditions like temperature (60–75°F) and moisture. Some varieties may take longer—don’t worry if sprouts don’t appear immediately. Consistency in care (like keeping soil lightly damp) speeds up the process.
Can I plant iris seeds in winter?
Winter planting is possible but risky. Iris seeds thrive in spring or early fall when temperatures are mild. If you must plant in winter, use a cold frame or greenhouse to protect seeds from frost. Otherwise, wait until soil temperatures rise above 50°F for best results.
What’s the easiest way to grow irises from seeds vs. rhizomes?
Seeds take 2–3 years to bloom, while rhizomes (bulb-like roots) produce flowers in 1 year. Seeds are great for experimenting with rare varieties, but rhizomes are faster and more reliable for beginners. Mix both methods for a vibrant garden sooner!
Why aren’t my iris seeds sprouting? Troubleshooting tips.
Common culprits include:
- Too much water: Seeds rot in soggy soil—keep it moist, not soaked.
- Poor light: Place seeds near a sunny window or under grow lights.
- Old seeds: Iris seeds lose viability after 1–2 years—check the packet date.
- Temperature swings: Use a heat mat (70°F) if your home is chilly.
Do iris seeds grow into the same color as the parent flower?
Not always! Seed-grown irises may revert to wild-type colors (often yellow or purple) or produce unpredictable hybrids. For true-to-parent blooms, buy named cultivars from reputable sellers or propagate via rhizome division.
Wrapping up and next steps
Growing iris flower seeds into vibrant, show-stopping blooms is a rewarding journey—one that starts with patience, the right tools, and a little love! Whether you’re a seasoned gardener or just starting, these germination secrets will set you up for success. 🌱✨
Now that you’re armed with knowledge and confidence, why not take the next step? Start your seeds today and watch your garden transform into a stunning display of purple, blue, or yellow irises. Happy planting—your future blooms will thank you!