Pruning
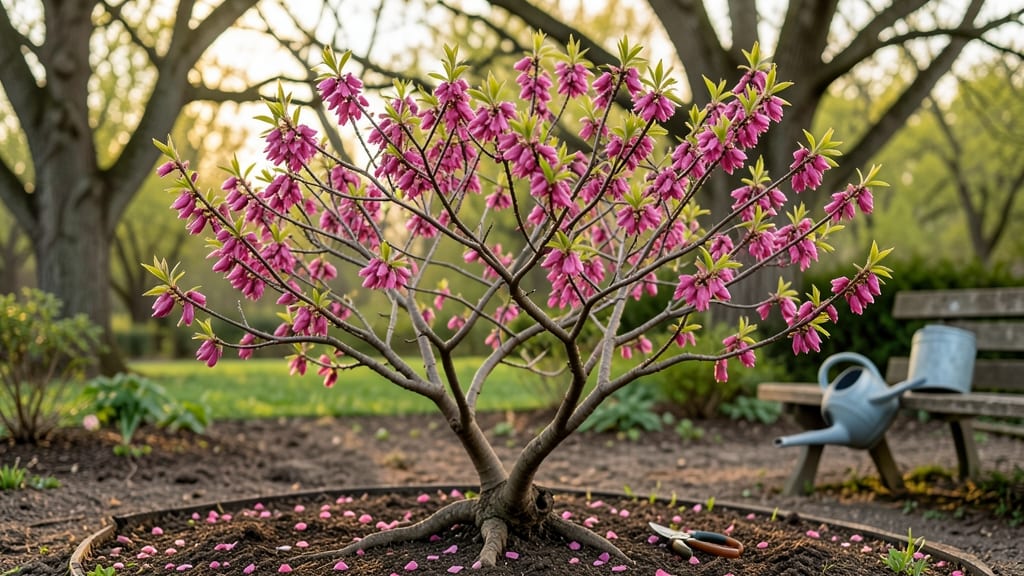
Transforming a flower tree branch into a sculpted statement piece starts with a single, precise cut. ✨ The right pruning techniques can turn ordinary branches into living art—whether you're shaping a topiary masterpiece or harvesting branches for dramatic winter arrangements.
My first attempt at this looked like a dog chewed the branches, but practice makes all the difference.
The secret lies in understanding growth patterns and timing. Prune in late winter or early spring when the tree is dormant, and always cut just above a bud or lateral branch.
You'll need sharp bypass pruners, a sturdy ladder, and a clear vision of your design—whether it's a classic spiral, a whimsical animal shape, or a simple rounded form. The best part? You can start small with a single branch and expand as your confidence grows.
What you end up with is a tree that looks like it belongs in a botanical garden, not just your backyard. The branches will fill in with fresh, vibrant blooms, and the structure will hold its shape through seasons.
Neighbors will ask how you did it, and you'll have the satisfaction of knowing it's all thanks to patient pruning and a little artistic flair.
This technique works for almost any flowering tree—from crape myrtles to lilacs—so you can adapt it to your garden's existing plants. Whether you're shaping a single branch or transforming an entire tree, the key is to go slow and observe how each cut affects the growth. Let's get pruning!
📚 In This Guide
- What you need
- Instructions
- Tips and common mistakes
- Wrapping up and next steps
What you need
- ● Pruning shears: Bypass or anvil-style (choose bypass for cleaner cuts on delicate branches). Size: 6–8 inches (for medium branches).
- ● Loppers: For thicker branches (up to 2 inches in diameter). Quantity: 1 pair.
- ● Hand saw: Fine-tooth or curved blade for stubborn or large branches. Size: 8–10 inches.
- ● Rubbing alcohol or disinfectant wipes: To sterilize tools and prevent disease spread. Quantity: Small bottle or pack.
- ○ Pruning sealant (optional but recommended): Tree wound paint to protect exposed cuts (use sparingly or skip for small branches). Size: 4–8 oz.
- ● Gloves: Garden or cut-resistant to protect hands from thorns or rough bark.
- ● Bucket or trash bag: For collecting pruned branches and debris.
- ● Measuring tape or ruler: To ensure proportional cuts (especially for artistic designs).
- ● Floral wire or twine: For securing branches into place during drying or shaping.
- ● Spray bottle with water: To keep branches hydrated while working (especially for long-term projects).
- ● Charcoal powder: Natural alternative to sealant for larger cuts (reduces risk of infection).
- ● Notebook & pencil: To sketch your design before cutting—great for beginners!
- ● Safety glasses: Protect your eyes from flying debris during heavy pruning.
Step-by-step instructions for sculpting flower tree branches
Transform your tree's natural shape into elegant, intentional branches with these precise steps.
✂️ Step 1: Assess the Tree's Structure and Growth Habits
Start by examining your tree's branches for thick, sturdy stems that can support the desired shape. Look for branches with healthy bark and vigorous buds—these are your best candidates for sculpting. I always check for any signs of disease or damage first, as weak branches won't hold up well to pruning.
Notice how the branches naturally grow—some may lean outward while others angle inward. Your goal is to create a balanced, open structure that allows light and air to flow through the canopy. Sketch a rough outline of your vision on paper first. This helps you visualize the final shape before making any cuts.
✂️ Step 2: Prune for Balance and Airflow
Begin by removing any dead, diseased, or crossing branches—these are the easiest cuts to make and the most beneficial for the tree's health. Use sharp, clean pruning shears to make cuts just outside the branch collar, the swollen area where the branch meets the trunk. This ensures the wound heals properly and reduces the risk of infection.
Next, focus on thinning out the interior branches to improve airflow. Aim to remove about 20-30% of the tree's foliage in one session. You'll see the branches spread out more evenly, which prevents overcrowding and allows sunlight to reach all parts of the tree. Watch for branches that grow straight up or inward—they often compete with others for space and should be pruned back.
✂️ Step 3: Shape the Outer Branches for Elegance
Now it's time to sculpt the outer branches into your desired shape. Start with the largest branches and work your way inward. I like to step back every few cuts to assess the overall form—this helps me see how the branches interact with each other. For a natural, flowing look, aim to create gentle curves rather than sharp angles.
Use your pruning shears to trim back any branches that are growing too long or out of place. Cut just above a bud or side branch to encourage new growth in the right direction. If a branch is too thick to cut cleanly with shears, use a handsaw instead. Always make cuts at a slight angle to help water runoff and prevent rot.
⏰ Step 4: Finish with Light Trimming and Maintenance
After the major cuts, do a final walkthrough to tidy up any rough edges or uneven branches. This is also the time to remove any small, weak growth that might detract from the overall shape. A light touch here ensures your tree looks polished and intentional.
Water the tree deeply after pruning to help it recover. Keep an eye on the branches over the next few weeks—they should start showing signs of new growth from the buds you left behind. If you notice any branches dying back or looking stressed, it might need a little extra care, like a balanced fertilizer or more frequent watering.
☀️ Step 5: Monitor and Adjust Over Time
Sculpting a flower tree branch isn't a one-time task—it requires ongoing attention. Check the tree every few months to see how the branches are filling in and whether any adjustments are needed. Young trees may need more frequent pruning to guide their growth, while mature trees can often hold their shape with minimal touch-ups.
Pay attention to how the tree responds to pruning. If it produces an abundance of new growth, it’s thriving. If it looks stressed or slow to recover, you may have pruned too aggressively. The key is balance—enough to shape the tree but not so much that it struggles to maintain its health. With time, your tree will develop the elegant, intentional form you envisioned.
Tips & tricks for sculpting flower tree branches
Here's what nobody tells you about transforming your tree's natural shape into something truly stunning.
Branch Health First: Before making any cuts, examine each branch for signs of disease like discoloration, oozing sap, or unusual spots. I learned this the hard way—once I pruned a branch that looked healthy but was actually infected, and it spread to other parts of the tree. Healthy bark should be smooth with no cracks or peeling, and buds should be plump and firm. If you're unsure, make a small test cut to check the interior.
Visualize Before You Cut: Sketching your vision first prevents over-pruning. I always step back every 5-10 minutes during Step 3 to assess the overall shape from different angles. This helps maintain balance and prevents that "overdone" look. Think of it like editing a photo—you wouldn't delete everything before seeing the final composition, right?
Cutting Technique Matters: When shaping branches in Step 3, always cut just above a bud or side branch at a slight angle. This encourages new growth in the right direction and prevents water from pooling in the wound. I use a handsaw for thicker branches—it gives me more control than shears. The angle should be about 45 degrees, with the top of the cut facing outward from the branch collar.
Seasonal Timing: The best time for major pruning is late winter or early spring, just before new growth begins. This gives your tree plenty of time to recover before summer heat stress. If you must prune during growing season, do it gradually over several sessions to reduce shock. I've seen trees recover beautifully from careful pruning, but aggressive summer cuts can stress even the hardiest specimens.
Pro Tips for Flower Tree Branch
- Here's what nobody tells you about transforming your tree's natural shape into something truly stunning.
- Branch Health First: Before making any cuts, examine each branch for signs of disease like discoloration, oozing sap,...
- Visualize Before You Cut: Sketching your vision first prevents over-pruning. I always step back every 5-10 minutes du...
Frequently asked questions
Got questions about transforming a flower tree branch into a stunning sculptural piece? Here are some of the most common ones—plus expert answers to help you prune with confidence!
How do I choose the best branch for sculpting?
Look for branches that are thick (at least 1-2 inches in diameter) and sturdy enough to support carving without snapping. Avoid branches with disease, cracks, or excessive knots—these can weaken the wood. Early spring or late winter is ideal, as the tree is dormant and less likely to bleed sap.
When is the best time of year to prune for sculpting?
Prune in late winter or early spring (before buds swell) to minimize stress on the tree. If you’re working with evergreen branches, summer pruning is safer to avoid winter dieback. Always avoid pruning during active flowering—this can reduce next year’s blooms.
What tools do I need to safely carve a flower tree branch?
Essential tools include:
- A sharp pruning saw or handsaw for cutting the branch.
- A carving knife or gouge for detailing (start with a 1/4-inch blade for precision).
- Safety gear: gloves, goggles, and a dust mask (wood dust can irritate lungs).
- Sandpaper (80-220 grit) for smoothing rough edges.
Pro tip: Disinfect tools with rubbing alcohol between cuts to prevent spreading disease!
Can I sculpt any type of flower tree branch, or are some better than others?
While most hardwood branches (like those from oak, maple, or dogwood) work well, softwoods (e.g., willow or pine) are trickier—they splinter easily. For long-lasting sculptures, choose branches with dense, close-grained wood. If you’re unsure, test a small section first!
What should I do if my sculpted branch starts rotting or attracting pests?
If you notice dark spots, mold, or holes:
- Remove the branch from the tree immediately to prevent spread.
- Clean tools with bleach or a fungicide (1 part bleach to 10 parts water).
- Apply pruning sealant to fresh cuts to protect against moisture.
- For pest issues, use neem oil or insecticidal soap on the tree.
Prevention tip: Always cut at a 45-degree angle just outside the branch collar for faster healing!
Wrapping up and next steps
Transforming a flower tree branch into a work of art is all about patience, precision, and a touch of creativity! 🌸 By mastering the right tools, techniques, and timing, you can shape branches that not only thrive but also inspire.
Whether you're pruning for health, aesthetics, or both, every cut is a step toward a more vibrant and balanced tree.
Ready to take your pruning skills to the next level? Grab your tools, step outside, and start sculpting with confidence! Next up: Try experimenting with a small branch first to practice your technique before tackling larger projects. Happy pruning! ✂️🌿