
Tools
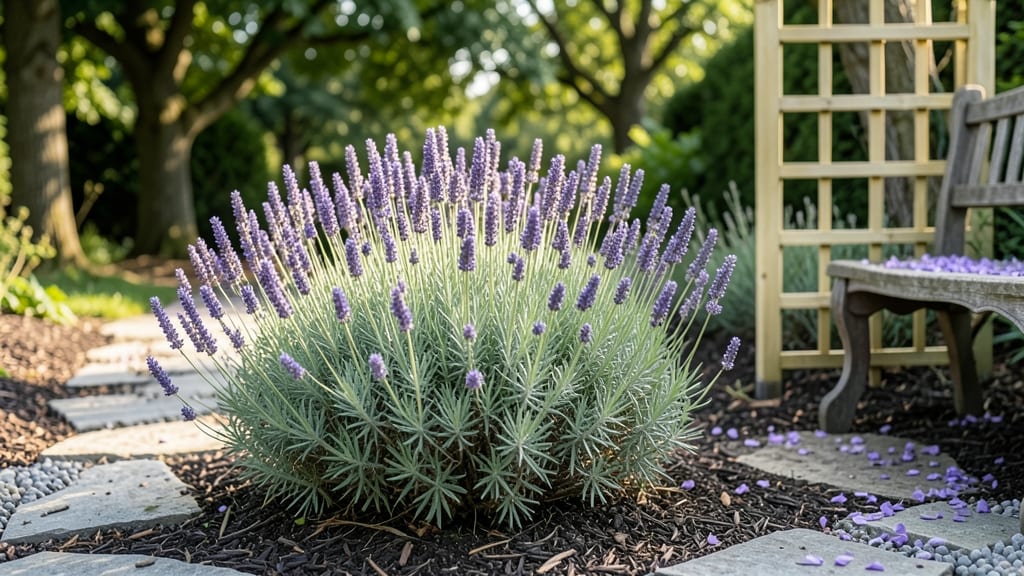
The best flower garden layouts start with a blank canvas and a few bold strokes. 🌸 Designing a flower garden layout isn’t about perfection—it’s about creating a space where every season feels intentional, from the first crocuses in spring to the last asters in frost.
My first attempt was a chaotic mix of colors and heights, but now I plan with purpose, balancing blooms that overlap their seasons so there’s always something vibrant.
You’ll need just five key elements: a sunlight map of your space, a height progression (tallest plants at the back, mid-height in the middle, and spillers at the front), a color palette that ties your plants together, focal points (like a trellis or sculpture), and paths that invite exploration.
The magic happens when you layer plants so that when one fades, another takes over—no bare spots, just seamless transitions. Even a small urban plot can work if you choose the right scale.
What you’ll end up with is a garden that feels like a living painting, where every visit reveals something new. The scent of peonies in June, the golden glow of black-eyed Susans in August, and the quiet beauty of ornamental grasses in winter—each season tells its own story.
The best part? Once the layout is set, maintenance becomes simpler because the plants already support each other.
This approach works for any size garden, from a 6-foot-wide urban bed to a sprawling backyard. Whether you love cottage charm, modern lines, or a wild meadow vibe, the same principles apply. Let’s turn your vision into a plan that actually thrives all year.
📚 In This Guide
- What you need
- Instructions
- Tips and common mistakes
- Wrapping up and next steps
What you need
- ● Graph paper or digital design software (e.g., SketchUp, Canva, or even a free app like Garden Planner)
- ● Measuring tape (25–50 ft for most gardens)
- ● Notebook or digital notes for sketching ideas and plant lists
- ● Pencil, markers, or colored pencils (for labeling and visualizing)
- ● Garden stakes or flags (wooden or metal, 6–12 inches tall, 10–20 units)
- ● Shovel and garden fork (for soil prep and planting)
- ● Pruners or shears (bypass pruners for clean cuts)
- ● Gloves (gardening-specific for comfort and protection)
- ● Watering can or hose with adjustable nozzle (for hydration during and after planting)
- ● Mulch (2–3 inches of organic mulch like shredded bark or straw)
- ● Level or string line (to ensure even planting beds)
- ● Soil test kit (to check pH and nutrient levels)
- ● Compost or fertilizer (for nutrient-rich soil)
- ● Pathway materials (gravel, stepping stones, or pavers)
- ● Decorative elements (birdbaths, trellises, or garden art)
- ● Seasonal plant catalogs or seed packets (for variety planning)
Instructions for designing a flower garden layout
Here's how I create stunning, low-maintenance layouts that bloom from spring to frost.
🌱 Step 1: Map Your Sunlight Zones First
Start by observing your garden throughout the day. Note where sunlight hits for full sun (6+ hours), partial shade (3-6 hours), and full shade (less than 3 hours). I use colored chalk or flags to mark these zones—this prevents me from placing sun-loving plants like coneflowers in shady corners where they'll struggle.
Most flower gardens need at least one full-sun area for annuals and perennials like black-eyed Susans. Shade-tolerant plants like hostas or astilbes can fill the darker spots. Sketch your zones on paper first—you'll see patterns emerge that make placement obvious.
🪴 Step 2: Choose a Focal Point and Build Outward
Pick one standout feature as your centerpiece—this could be a mature tree, a decorative pot, or a garden bench. I always place my tallest plants (like hollyhocks or delphiniums) behind this focal point to create depth. Arrange mid-height plants (like daylilies or salvia) in the middle layer, and fill the front with low-growing annuals or ground covers.
Here's the thing—don't crowd your focal point. Leave 12-18 inches of breathing room around it. You'll want space to walk through later without crushing plants. For a 4-person garden, I typically plan for 3-5 main focal points spaced evenly across the space.
☀️ Step 3: Layer Plants by Height and Bloom Time
Group plants by their mature height rather than their current size. Tall plants in back, medium in middle, short in front—this creates that "wow" visual impact from any viewing angle. I like to use the 3-tier rule: background (36"+), mid (12-36"), foreground (under 12").
Next, stagger bloom times so something's always flowering. Early spring bulbs (daffodils, tulips) lead into summer perennials (coneflowers, black-eyed Susans), which hand off to late-season bloomers (asters, goldenrod). For a 4-person garden, aim for 3-4 bloom cycles throughout the season.
💧 Step 4: Plan for Year-Round Interest
Include plants that offer more than just flowers—think foliage, seed heads, or winter structure. Ornamental grasses (like fountain grass) sway beautifully in fall winds, while evergreens (like boxwood or hemlock) provide winter color. I always add at least one structural plant per 10 square feet to maintain visual interest when flowering slows.
Don't forget about seasonal textures. Spring brings soft new growth, summer offers lush foliage, and fall delivers rich colors. For a 4-person garden, I incorporate 2-3 plants with year-round appeal like lamb's ear or Russian sage to tie everything together.
✂️ Step 5: Leave Room for Movement and Maintenance
Plan for 3-foot-wide paths between planting beds so you can walk through comfortably with tools. I mark these paths with stepping stones or mulch to define them clearly. Narrower paths (2 feet) work for informal gardens but make maintenance harder.
Include a 1-foot border of mulch around all planting areas to suppress weeds and retain moisture. This isn't just decorative—it's functional. For a 4-person garden, I calculate 10-15% of the space should be dedicated to paths and borders, not plants.
Tips & tricks for perfect flower garden layouts
Creating a garden that thrives all season takes a few key tricks that go beyond the basic steps. Here's what I've learned after designing dozens of gardens that stay beautiful from spring to frost.
Sunlight Zone Pro Tip: In Step 1, when marking your sunlight zones, use a sunlight meter app on your phone for precise measurements. I've found that even small variations in shade (like a 30-degree angle difference) can change a plant's performance. For example, a coneflower in "partial shade" might struggle if it's actually getting only 2 hours of sunlight—it needs at least 3-6 hours to thrive. Trust me on this: the 5-minute investment in accurate mapping saves hours of replanting later.
Focal Point Strategy: Don't just pick any centerpiece in Step 2—choose something that will evolve with your garden. A mature tree provides shade for years, while a decorative pot can be moved to refresh the look. I always include at least one permanent structure (like a trellis or bench) that anchors the space and gives me something to build around. The 12-18 inches of breathing room isn't just about aesthetics; it's about giving yourself room to kneel or stand comfortably while tending plants.
Seasonal Layering Hack: When implementing the 3-tier height rule in Step 3, think about vertical layers too. Add climbing plants like morning glories or clematis to trellises behind your tallest perennials. This creates instant depth and gives pollinators more surfaces to work with. For the 3-4 bloom cycles, I like to include at least one late-season bloomer (like asters) that continues flowering when others have faded—it's the secret to fall color that keeps people coming back to your garden.
Year-Round Interest Shortcut: In Step 4, instead of just adding evergreens, consider textural plants that change with the seasons. For example, lamb's ear has silvery foliage in summer that turns golden in fall, while ornamental grasses provide movement in winter. I've found that including one plant per season that offers something beyond flowers (like seed heads or interesting bark) makes the difference between a garden that fades and one that stays compelling year-round.
Pro Tips for Designing A Flower Garden Layout
- Creating a garden that thrives all season takes a few key tricks that go beyond the basic steps.
- Sunlight Zone Pro Tip: In Step 1, when marking your sunlight zones, use a sunlight meter app on your phone for precise measurements.
- Focal Point Strategy: Don't just pick any centerpiece in Step 2—choose something that will evolve with your garden.
Frequently asked questions
Got questions about designing your dream flower garden?
You’re not alone! Here are answers to the most common concerns—so you can plan with confidence and avoid costly mistakes.
What’s the best time of year to start planning my flower garden layout?
The ideal time depends on your climate! In mild winter zones, start sketching layouts in early spring (Feb–March) to plant cool-season flowers. For harsh winters, begin in late winter (Jan–Feb) to prep soil and order perennials. Summer gardeners should plan in fall (Sept–Oct) for spring planting. Pro tip: Check your USDA hardiness zone for precise timing!
How do I choose the right flower garden layout for my space?
Start by measuring your space and considering sunlight, soil, and traffic flow. For small yards, opt for a linear or circular design (e.g., a border around a patio). Larger areas thrive with themed sections (e.g., pollinator-friendly, shade-loving, or cutting gardens). Key rule: Group plants by water/sun needs to simplify maintenance. Use graph paper or garden design apps to visualize!
What’s a budget-friendly way to design a flower garden without buying expensive plants?
Save money by:
- Starting with seeds (e.g., marigolds, zinnias, or sunflowers) instead of transplants.
- Dividing perennials from neighbors’ gardens or your own overgrown clumps.
- Using mulch (wood chips or straw) to suppress weeds and retain moisture.
- DIY hardscaping with recycled bricks, stones, or pallets for borders.
How can I design a flower garden that attracts pollinators like bees and butterflies?
Prioritize native, nectar-rich flowers with flat or tubular blooms (bees love them!). Include:
- Early-season bloomers: Columbine, crocus, or violets.
- Mid-season stars: Coneflowers, black-eyed Susans, or bee balm.
- Late-season feeders: Asters, goldenrod, or sedum.
My garden keeps looking messy—how do I fix a poorly planned layout?
Revamp your space with these fixes:
- Edit aggressively: Remove floppy, invasive, or non-performing plants.
- Add structure: Use vertical elements (trellises, arbors) or hardscaping (gravelfree paths) to define zones.
- Layer plants: Place tall flowers behind medium-height ones, with ground covers in front.
- Mulch deeply (3–4 inches) to suppress weeds and tidy the base.
Wrapping up and next steps
Designing your dream flower garden is all about blending creativity with practicality—whether you’re drawn to vibrant annuals, fragrant perennials, or a mix of both! 🌸 The key is starting small, planning for seasonal changes, and letting your space evolve naturally.
With the right layout, you’ll enjoy a blooming oasis that thrives year-round and brings joy with every visit.
Ready to turn your vision into reality? Grab your sketchbook, gather your tools, and start sketching your first design today—your garden’s waiting for you! 🌱