Flowers
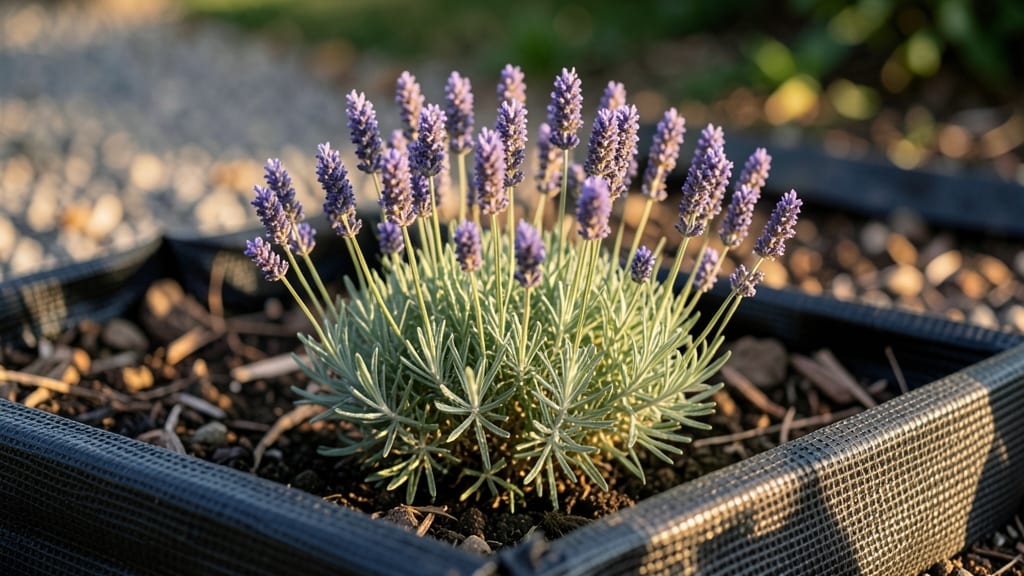
A weed barrier for your flower bed isn't about giving up on nature—it's about working with it. 🌱 I spent years pulling weeds by hand until I discovered how a simple barrier can cut that tedious work by 90%.
The right material lets rain and roots through while blocking unwanted sprouts, and it lasts for seasons if installed properly.
You don't need fancy equipment—just a few basic supplies like landscape fabric, cardboard, or even thick layers of mulch. The key is preparing your bed first: clear existing weeds, loosen the soil, and smooth out any bumps.
Then it's just a matter of laying your barrier flat, securing the edges, and adding your plants on top.
What you'll end up with is a flower bed that stays weed-free for months, with less bending and pulling. The flowers thrive because they're not competing for nutrients, and you'll actually enjoy visiting your garden instead of dreading the weekly weed patrol.
Works for any flower bed size, from small containers to full sunken borders. The method scales easily, and you can mix organic options like newspaper with synthetic fabric for extra durability. Let's get that bed looking effortless!
📚 In This Guide
- What you need
- Instructions
- Tips and common mistakes
- Wrapping up and next steps
What you need
- ● Weed barrier fabric: 1 roll (choose landscape fabric or cardboard; 3–4 ft wide, length depends on flower bed size). Opt for biodegradable options if possible.
- ● Edging material: 1–2 boxes of landscape edging (plastic, metal, or stone) or bricks (for a polished look).
- ● Mulch: 2–3 bags of organic mulch (shredded bark, straw, or wood chips) or inorganic mulch (gravel, pebbles).
- ● Soil: 2–3 bags of high-quality garden soil or compost (for planting).
- ● Staple gun & staples: 1 (if using fabric) to secure edges.
- ● Garden gloves (1 pair) – for comfort and protection.
- ● Shovel or spade (1) – for digging and leveling.
- ● Rake (1) – to smooth soil and mulch.
- ● Measuring tape (1) – to ensure precise cuts.
- ● Scissors or utility knife (1) – for trimming fabric.
- ○ Wheelbarrow (optional) – for hauling materials.
- ● Natural weed suppressants: Corn gluten meal or vinegar spray (for extra prevention).
- ● Decorative stones or mulch dyes – to enhance aesthetics.
- ● Ground cover plants (e.g., creeping thyme or clover) – for living weed barriers.
- ● Waterproof underlayment (if fabric is near wood or concrete).
Step-by-Step guide to creating a natural weed barrier for your flower bed
Here's how to keep weeds at bay without harsh chemicals or expensive fabrics.
🪴 Step 1: Clear and Prepare the Flower Bed
Start by removing all existing weeds, grass, and debris from the bed. Use a garden fork or trowel to loosen the soil down to 6-8 inches deep—this helps roots establish deeper and makes future weeding easier. I like to work in sections, pulling weeds by hand first, then using a hoe to chop up stubborn roots. Spread the 2-3 inches of compost evenly across the bed to improve soil fertility and structure.
Rake the area smooth to create an even surface. This is your foundation—skipping prep means weeds will find weak spots to grow through. If your bed has uneven areas, mound soil higher in low spots so water drains properly. A well-prepared bed means fewer weeds later and happier plants.
🌱 Step 2: Layer Organic Mulch for Weed Suppression
Spread 3-4 inches of coarse wood chips or straw over the entire bed. I prefer wood chips because they break down slowly, providing long-term weed suppression and improving soil as they decompose. Avoid fine mulches like grass clippings—they compact and can smother plants. Space your plants according to their mature size, leaving 12-18 inches between them for airflow and easy maintenance.
Don’t pack the mulch down—leave it loose so water can penetrate. If you’re using straw, fluff it slightly to create air pockets. This layer blocks sunlight from reaching weed seeds, which need light to germinate. The mulch will also help retain moisture, reducing the need for frequent watering.
☀️ Step 3: Add a Living Mulch Layer for Extra Protection
Plant low-growing, dense ground covers like creeping thyme, clover, or ajuga around and between your flowers. These plants spread quickly, creating a living barrier that outcompetes weeds for space and nutrients. I like to place them in a 2-inch-deep trench along the edges of the bed to contain their growth. Water them well after planting to help them establish roots.
Living mulches are the secret weapon—once established, they shade the soil and prevent weed seeds from sprouting. You’ll see them fill in within 4-6 weeks, and their vibrant foliage adds beauty to your bed. Just be mindful of their spread; some varieties, like clover, can take over if not managed.
💧 Step 4: Maintain the Barrier for Long-Term Success
Check the mulch layer every 2-3 weeks and add more if it decomposes below 2 inches. Top up with fresh wood chips or straw as needed, especially after rain or watering. Keep the bed moist but not soggy—weeds thrive in both dry, cracked soil and waterlogged conditions. A 1-inch layer of leaves or straw in winter adds extra insulation and weed protection.
Pull any weeds that do appear by hand before they seed—this is easier than dealing with a full-blown infestation later. I like to do this on a dry day when the soil is firm, making it simple to remove weeds without disturbing the mulch. With consistent care, your flower bed will stay weed-free and flourish for years.
Tips & tricks for perfect natural weed barrier
Here's how to make your flower bed maintenance even easier with these practical tips.
Deep Soil Prep Pays Off: In Step 1, don't rush the soil loosening—those 6-8 inches deep are crucial. I've seen weeds pop up through shallow prep because their roots found weak spots. Use a garden fork to break up compacted layers completely, especially if your bed hasn't been disturbed before. This creates space for your plants' roots to grow deep while starving out weed roots.
Mulch Thickness Matters: The 3-4 inches of mulch in Step 2 is your first line of defense against weeds. Too little leaves gaps for sunlight, and too much can suffocate your plants. I like to check the thickness with my hand—it should be about the length of my palm. For extra protection, consider a 2-inch layer of cardboard (non-glossy) underneath your mulch to block weeds completely from sprouting.
Living Mulch Selection: When choosing ground covers in Step 3, pick plants that match your climate and light conditions. Creeping thyme thrives in sunny spots while ajuga prefers partial shade. I've found that clover spreads aggressively—great for weed suppression but needs containment. Always plant living mulches after your main flowers so they don't compete for nutrients initially.
Maintenance Schedule: The 2-3 week check-ins in Step 4 are non-negotiable. I set calendar reminders because I've learned the hard way that neglected mulch breaks down faster than expected. Keep a small bag of fresh mulch handy so you can top up immediately. This consistent care is what makes the difference between a weed-free bed and one that's constantly battling invaders.
Pro Tips for Weed Barrier For Flower Bed
- Here's how to make your flower bed maintenance even easier with these practical tips.
- Deep Soil Prep Pays Off: In Step 1, don't rush the soil loosening—those 6-8 inches deep are crucial. I've seen weeds ...
- Mulch Thickness Matters: The 3-4 inches of mulch in Step 2 is your first line of defense against weeds. Too little le...
Frequently asked questions
Got questions about using a weed barrier in your flower bed?
You’re not alone! Here are some of the most common concerns—and clear, practical answers to help you get started without the guesswork.
What’s the best material for a weed barrier in a flower bed?
A high-quality landscape fabric (like woven polypropylene) or cardboard (for a natural, biodegradable option) works best. Avoid plastic sheets—they don’t allow water or air to penetrate, which can harm roots. Look for fabrics labeled "permeable" or "breathable" for optimal results.
How long does a weed barrier last before needing replacement?
With proper installation, a landscape fabric can last 5–10 years, while cardboard breaks down in 1–2 years. Check for wear annually—replace if it tears or shifts, as gaps let weeds through. Mulch on top can extend its life by shielding it from sunlight.
Will a weed barrier stop my flowers from getting enough water?
Not if installed correctly! The barrier should be perforated or woven to allow water to seep through. Always water thoroughly after planting to help roots penetrate the fabric. If using cardboard, soak it first to prevent it from wicking moisture away from your plants.
Are there natural alternatives to landscape fabric?
Yes! Try these eco-friendly options:
- Cardboard: Lay flat, overlap edges, and cover with mulch.
- Newspaper: Use unbleached, ink-free sheets (3+ layers).
- Wood chips or straw: Acts as a living mulch that smothers weeds over time.
- Living mulches: Plant ground covers like clover or creeping thyme to outcompete weeds.
What should I do if weeds keep growing through the barrier?
Weeds often sneak through gaps or edges. Reinforce the barrier by:
- Adding a second layer of fabric or cardboard over high-weed areas.
- Sealing edges with landscape staples or rocks.
- Hand-pulling weeds promptly—they’re easier to remove before they seed.
- Topping with 3–4 inches of mulch to block light.
If the fabric is old or torn, replace it to prevent future issues.
Wrapping up and next steps
Creating a weed barrier for your flower bed doesn’t have to be a chore—it’s a game-changer for low-maintenance gardening! 🌿 Whether you opt for natural materials like cardboard or landscape fabric, or go the DIY route with mulch or grass clippings, you’re already on your way to a lush, weed-free paradise.
The key is consistency and choosing the right method for your garden’s needs.
Now that you’re armed with the know-how, roll up those sleeves and get planting! Start small with one section of your flower bed, monitor progress, and soon, you’ll be enjoying a thriving garden with minimal weeding. Happy gardening! 🌸