
Flowers
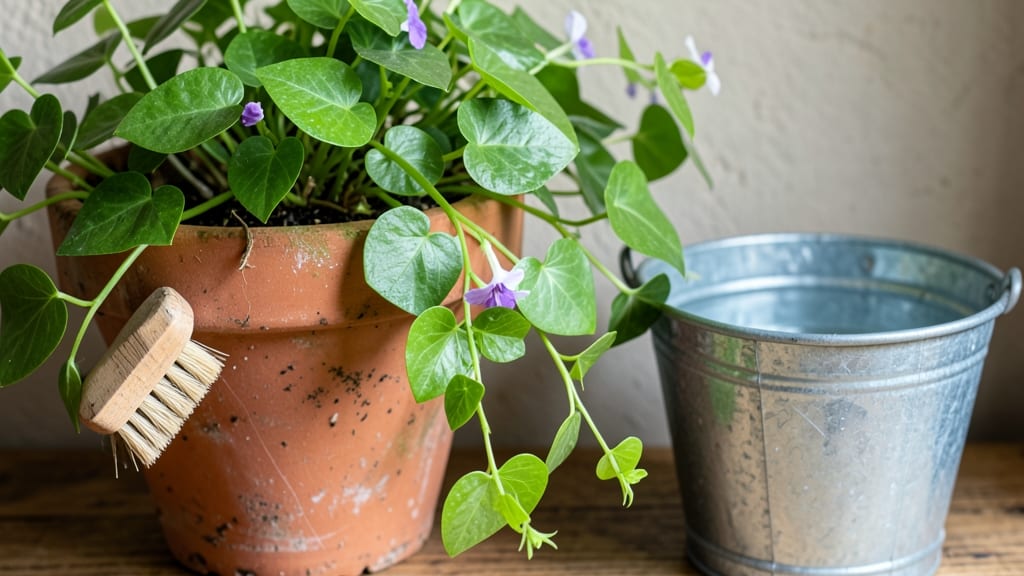
Cleaning flower pots might seem like a chore, but it’s the secret to keeping your plants thriving. 🌱 A grimy pot can trap mold, bacteria, and pests that strangle roots and stunt growth—yet most gardeners skip this step until the problem’s obvious.
I’ve revived dozens of struggling plants just by giving their pots a proper scrub, and you can too.
The good news? You don’t need harsh chemicals or fancy tools. A stiff brush, warm soapy water, and a 10-minute scrubbing session are all it takes to restore pots to like-new condition.
For stubborn algae or mildew, a mix of vinegar and water (1:1 ratio) disinfects without harming plants. The key is consistency—clean pots every 2-3 months or whenever you notice crusty buildup.
What you’ll end up with is a fresh, sterile surface that promotes healthy root growth and prevents disease. Plants in clean pots drink up nutrients instead of fighting off hidden pathogens, and the pots themselves last longer without cracking or degrading.
Plus, your garden will smell fresh and earthy instead of musty and neglected.
Works for ceramic, plastic, terracotta, and even woven pots—just adjust the cleaning method to the material. Let’s get those pots sparkling so your plants can shine.
📚 In This Guide
- What you need
- Instructions
- Tips and common mistakes
- Wrapping up and next steps
What you need
- ● Gloves (1 pair) – Rubber or nitrile gloves to protect your hands from harsh cleaners and mold spores.
- ● Scrub brush – A stiff-bristled brush (like a toilet brush or dedicated pot scrubber) for tough grime.
- ● Mild dish soap – 1-2 tbsp (e.g., Dawn) for general cleaning.
- ● White vinegar – 1 cup (natural disinfectant and deodorizer).
- ○ Baking soda – ¼ cup (optional abrasive for stubborn stains).
- ● Spray bottle – 1 (for mixing vinegar/water solutions).
- ● Old rag or sponge – For wiping down surfaces.
- ● Hydrogen peroxide (3%) – ½ cup (kills mold/mildew; test on colored pots first!).
- ● Bleach (unscented, diluted) – 1 tbsp per gallon of water (for deep sanitization; rinse well).
- ● Steam cleaner – For sanitizing without chemicals (great for reusable pots!).
- ● Sandpaper (fine-grit, 220+) – To smooth rough spots on ceramic/pottery.
- ● Newspaper or paper towels – For drying pots thoroughly.
Step-by-step instructions for reviving your flower pots
Here's the foolproof method I use to banish grime and mold—no harsh chemicals needed.
🪴 Step 1: Empty and Inspect the Pot
Start by emptying all soil, roots, and debris into a compost bin or trash bag. I always wear gloves for this step—old pots can hold stubborn mold spores or sharp root fragments. Flip the pot upside down and tap it gently against a hard surface to dislodge any remaining soil clinging to the sides or drainage holes.
Examine the interior closely for signs of mold, algae, or mineral buildup. Black or green spots indicate mold, while white crusty deposits signal mineral accumulation from hard water. If the pot has cracks or deep stains, those areas will need extra attention during cleaning.
💧 Step 2: Soak and Scrub with Baking Soda Solution
Fill a large bucket or sink with warm water and add 1/4 cup baking soda per gallon of water. Stir until fully dissolved—this creates a gentle yet effective cleaning agent that won’t damage most pot materials. Submerge the pot completely and let it soak for at least 30 minutes. For tough stains, I extend this to 1-2 hours while preparing other garden tools.
After soaking, use a stiff-bristle brush (like a bottle brush or dedicated pot scrubber) to scrub the interior and exterior surfaces. Pay special attention to drainage holes and crevices where mold loves to hide. For stubborn mineral deposits, sprinkle a pinch of baking soda directly onto the stains before scrubbing again.
✂️ Step 3: Rinse and Disinfect Thoroughly
Rinse the pot thoroughly under running water until no baking soda residue remains. I test this by running my fingers over the surface—if it feels slippery, it’s not clean enough. For plastic or ceramic pots, a final rinse with 1 part white vinegar to 3 parts water helps disinfect and remove any lingering odors.
Let the pot air-dry completely in direct sunlight for at least 24 hours. UV light from sunlight acts as a natural disinfectant, killing any remaining mold spores. If you notice any lingering stains after drying, repeat the baking soda soak for an additional 30 minutes before re-rinsing.
☀️ Step 4: Prevent Future Buildup with Maintenance
To keep your pots looking fresh, rinse them monthly with warm water and a soft brush—this prevents mineral deposits from hardening. I also recommend rotating pots every few weeks so all sides get equal sun exposure, which naturally inhibits mold growth.
For pots that hold moisture-loving plants like ferns or calatheas, apply a light coat of food-grade mineral oil to the interior after cleaning. This creates a protective barrier that repels water and reduces mold risk. Avoid this step for terracotta pots, as they benefit from natural porosity.
Tips & tricks for perfect flower pot revival
Here's what nobody tells you about bringing your pots back to life without the hassle.
Soak Time Matters: The 30-minute minimum soak is your baseline, but don't rush it! For heavily stained pots, I extend this to the full 1-2 hours—this is when the baking soda really works its magic to break down mineral deposits. I've learned the hard way that cutting corners here means stubborn stains will return faster. Pro tip: Place the pot in a sealed plastic bag with the baking soda solution for an overnight soak if you're dealing with severe mold or algae.
Scrubbing Secret: Drainage holes are mold's favorite hiding spot! Use a pipe cleaner or wooden skewer to clean these tiny spaces thoroughly. For plastic pots, a toothbrush works wonders in crevices. And here's a trick I picked up from gardeners: Sprinkle a tiny bit of baking soda directly onto stains before scrubbing—it acts like a gentle abrasive without scratching the pot surface.
Sunlight Strategy: That 24-hour drying time in direct sunlight isn't just about drying—it's your final disinfection step. UV rays kill remaining mold spores, so don't skip this! If you're short on sunny days, place the pot under a grow light for 12-18 hours instead. For terracotta pots, the sun helps maintain their natural breathability while keeping them mold-free.
Material-Specific Tips: Terracotta pots need special care—they're porous and absorb moisture differently. After cleaning, soak them in water for 10 minutes before replanting to rehydrate the material. For plastic pots, avoid soaking in vinegar solutions for too long as it can degrade the plastic over time. And for decorative pots that aren't plant-safe, use a diluted dish soap solution instead of vinegar for the final rinse.
Pro Tips for Clean A Flower Pot
- Here's what nobody tells you about bringing your pots back to life without the hassle.
- Soak Time Matters: The 30-minute minimum soak is your baseline, but don't rush it!
- Scrubbing Secret: Drainage holes are mold's favorite hiding spot!
Frequently asked questions
Got questions about keeping your flower pots fresh and functional? Here are some common concerns—and their easy solutions!
How often should I clean my flower pot?
Clean your pot every 3–6 months if used indoors, or after each growing season outdoors. If you notice mold, mildew, or a musty smell, tackle it sooner. Regular cleaning prevents pests and keeps roots healthy!
Can I use vinegar or bleach to clean my pot?
Yes! A 1:1 vinegar-water mix (for mild cleaning) or 1 part bleach to 10 parts water (for deep disinfection) works well. Rinse thoroughly afterward to avoid chemical buildup. Avoid bleach on porous materials like terracotta—it can weaken them over time.
What if my pot has stubborn mold or grime?
Soak it in warm, soapy water for 30 minutes, then scrub with a stiff brush. For tough stains, sprinkle baking soda or hydrogen peroxide (3%) before scrubbing. Sunlight and fresh air help dry it faster—just avoid direct heat, which can crack ceramic or plastic.
Do I need to clean empty flower pots?
Empty pots trap moisture, dust, and pests. Wipe them down with a damp cloth and mild soap, then let them dry completely. Store them in a dry, ventilated space to prevent mold growth between uses.
Are there eco-friendly ways to clean flower pots?
Try these green alternatives:
- Baking soda paste (mix with water) for scrubbing.
- Citrus peels (soak in water for a natural disinfectant).
- Steam cleaning (for deep-cleaning without chemicals).
Wrapping up and next steps
Cleaning your flower pot doesn’t have to be a daunting task—with the right tools and techniques, you can restore it to mint condition in no time!
Whether you’re tackling stubborn mold, grime, or just refreshing an old favorite, these steps will leave your pots sparkling and ready for your next green thumb adventure. 🌿✨
Now that you’re armed with the know-how, give your pots the TLC they deserve—your plants (and your space!) will thank you. Ready to take it further? Try repurposing your clean pots with fresh soil and new blooms for an instant garden upgrade!